
Becoming an Urban Farmer.....
02 April, 2020
Anyone can create an outdoor farm, even with a balcony!
Flowers are amazing aren’t they? Though I love flowers, due to limited free time scheduling availability with my job commitments, I don’t get a whole lot out of growing flowers with my time. I am a vegetable girl myself…….. You reap what you sow right? In my time in Norfolk and San Diego, I dabbled in growing different types of vegetables. Thus far I have really only mastered tomatoes and zucchinis (you really have to try to kill a Zucchini plant, it just needs a lot of sun and a few rain showers here and there). In both of those locations, I was relatively limited in outdoor space. This however, does not mean you cannot have your own urban farm, you just have to get creative! I have done large potted vegetables in my front yard in Norfolk and I used a small sliver of dirt in my back patio in San Diego. They key is getting good nutrient rich dirt or adding some good fertilizer to the existing soil.
This year, since I am hanging out with the parental units in Northern VA, I convinced my dad that we needed to do an urban farm since I would be around all summer. He found a great video of constructing easy raised flower beds, with minimal tools required. You will at least need an electric saw and a drill. Sometimes your hardware store can help you out with the wood cuts if you don’t already have an electric saw. We used a great video from you tube to construct the base by the Food Forest Guy. Here is the link! We even drafted Annika for some hard labor during the construction!
Here’s what you need for the box bases
3 - 2 by 12 by 8 boards
4 - 2 by 4 by 8 boards
1 Box of wood screws


The right kind of dirt!
If you start with a new box, then it is going to require a lot of dirt. We used about 1 cubic yard to fill each box. You can get dirt delivered from your local hardware store, but most likely they will deliver it in bags still. Dad and I ended up going to our local plant nursery. We got a mix of top soil and organic mulch and filled the bed of the truck up, which fit the 2 cubic yards that we needed. It of course rained during the week of filling/planting, so we couldn’t pull the truck into the yard due to the wetness, so we wheel barreled it back to the boxes. We added a couple handfuls of vegetable fertilizer to each wheel barrel we brought out to evenly distribute the fertilizer. Once all the dirt was in, we added about 1 cubic ft of Pete Moss mixed into the top 6 inches of the soil. This helps new plant roots cling to the dirt until they are established.


Breaking out the Engineering Skills (Which I have not used in a long time)
Dad and I did some modifications of our own once we had the base built. Depending on the environment you live in, you may need to provide some extra protection to make sure you plants are safe from other animals who may be interested. In Virginia, we get ALL OF THE ANIMALS. I mainly need to Amelia proof it (Amelia is my sister’s pup who I moved to the east coats with me). Amelia has rallied the other two puppies to love eating the dirt and plants in the boxes. One of our other other protections was from the evil Arlington squirrels. Dad did some research and we decided the best material to go with was some plastic fencing/netting material that he already had in the garage (Apparently the squirrels do not like climbing the plastic netting, we shall see…….).
The Challenge!!!!! How did we get the netting onto the boxes and still be able to get to the plants?
Dad goes………….. I have a plan! (My thoughts immediately go to…… oh man this can’t go smoothly……….). It turns out that my dad is actually pretty handy with working with all the supplies we already had. We ended up designing a plastic curtain fencing system. We did a total of three boxes, and thus far the system is working great! I made my cousin Matt wrestle the plastic fencing for the third box!
To do the fencing, you will need a 2 by 4 by 10 board. We ripped the boards in half and then cut each piece in half to get 4 posts (you could also use tall fence posts or similar materials). We then found a piece of 30 foot wire (a variety of sizes could work), and we weaved the netting through the wire, and then ran the wire through a hole we drilled in each post. The short ends of the box nets were staples into the posts, and we cut the nets, so one end could curtain across the long portions of the boxes, so you could access the plants from either side.


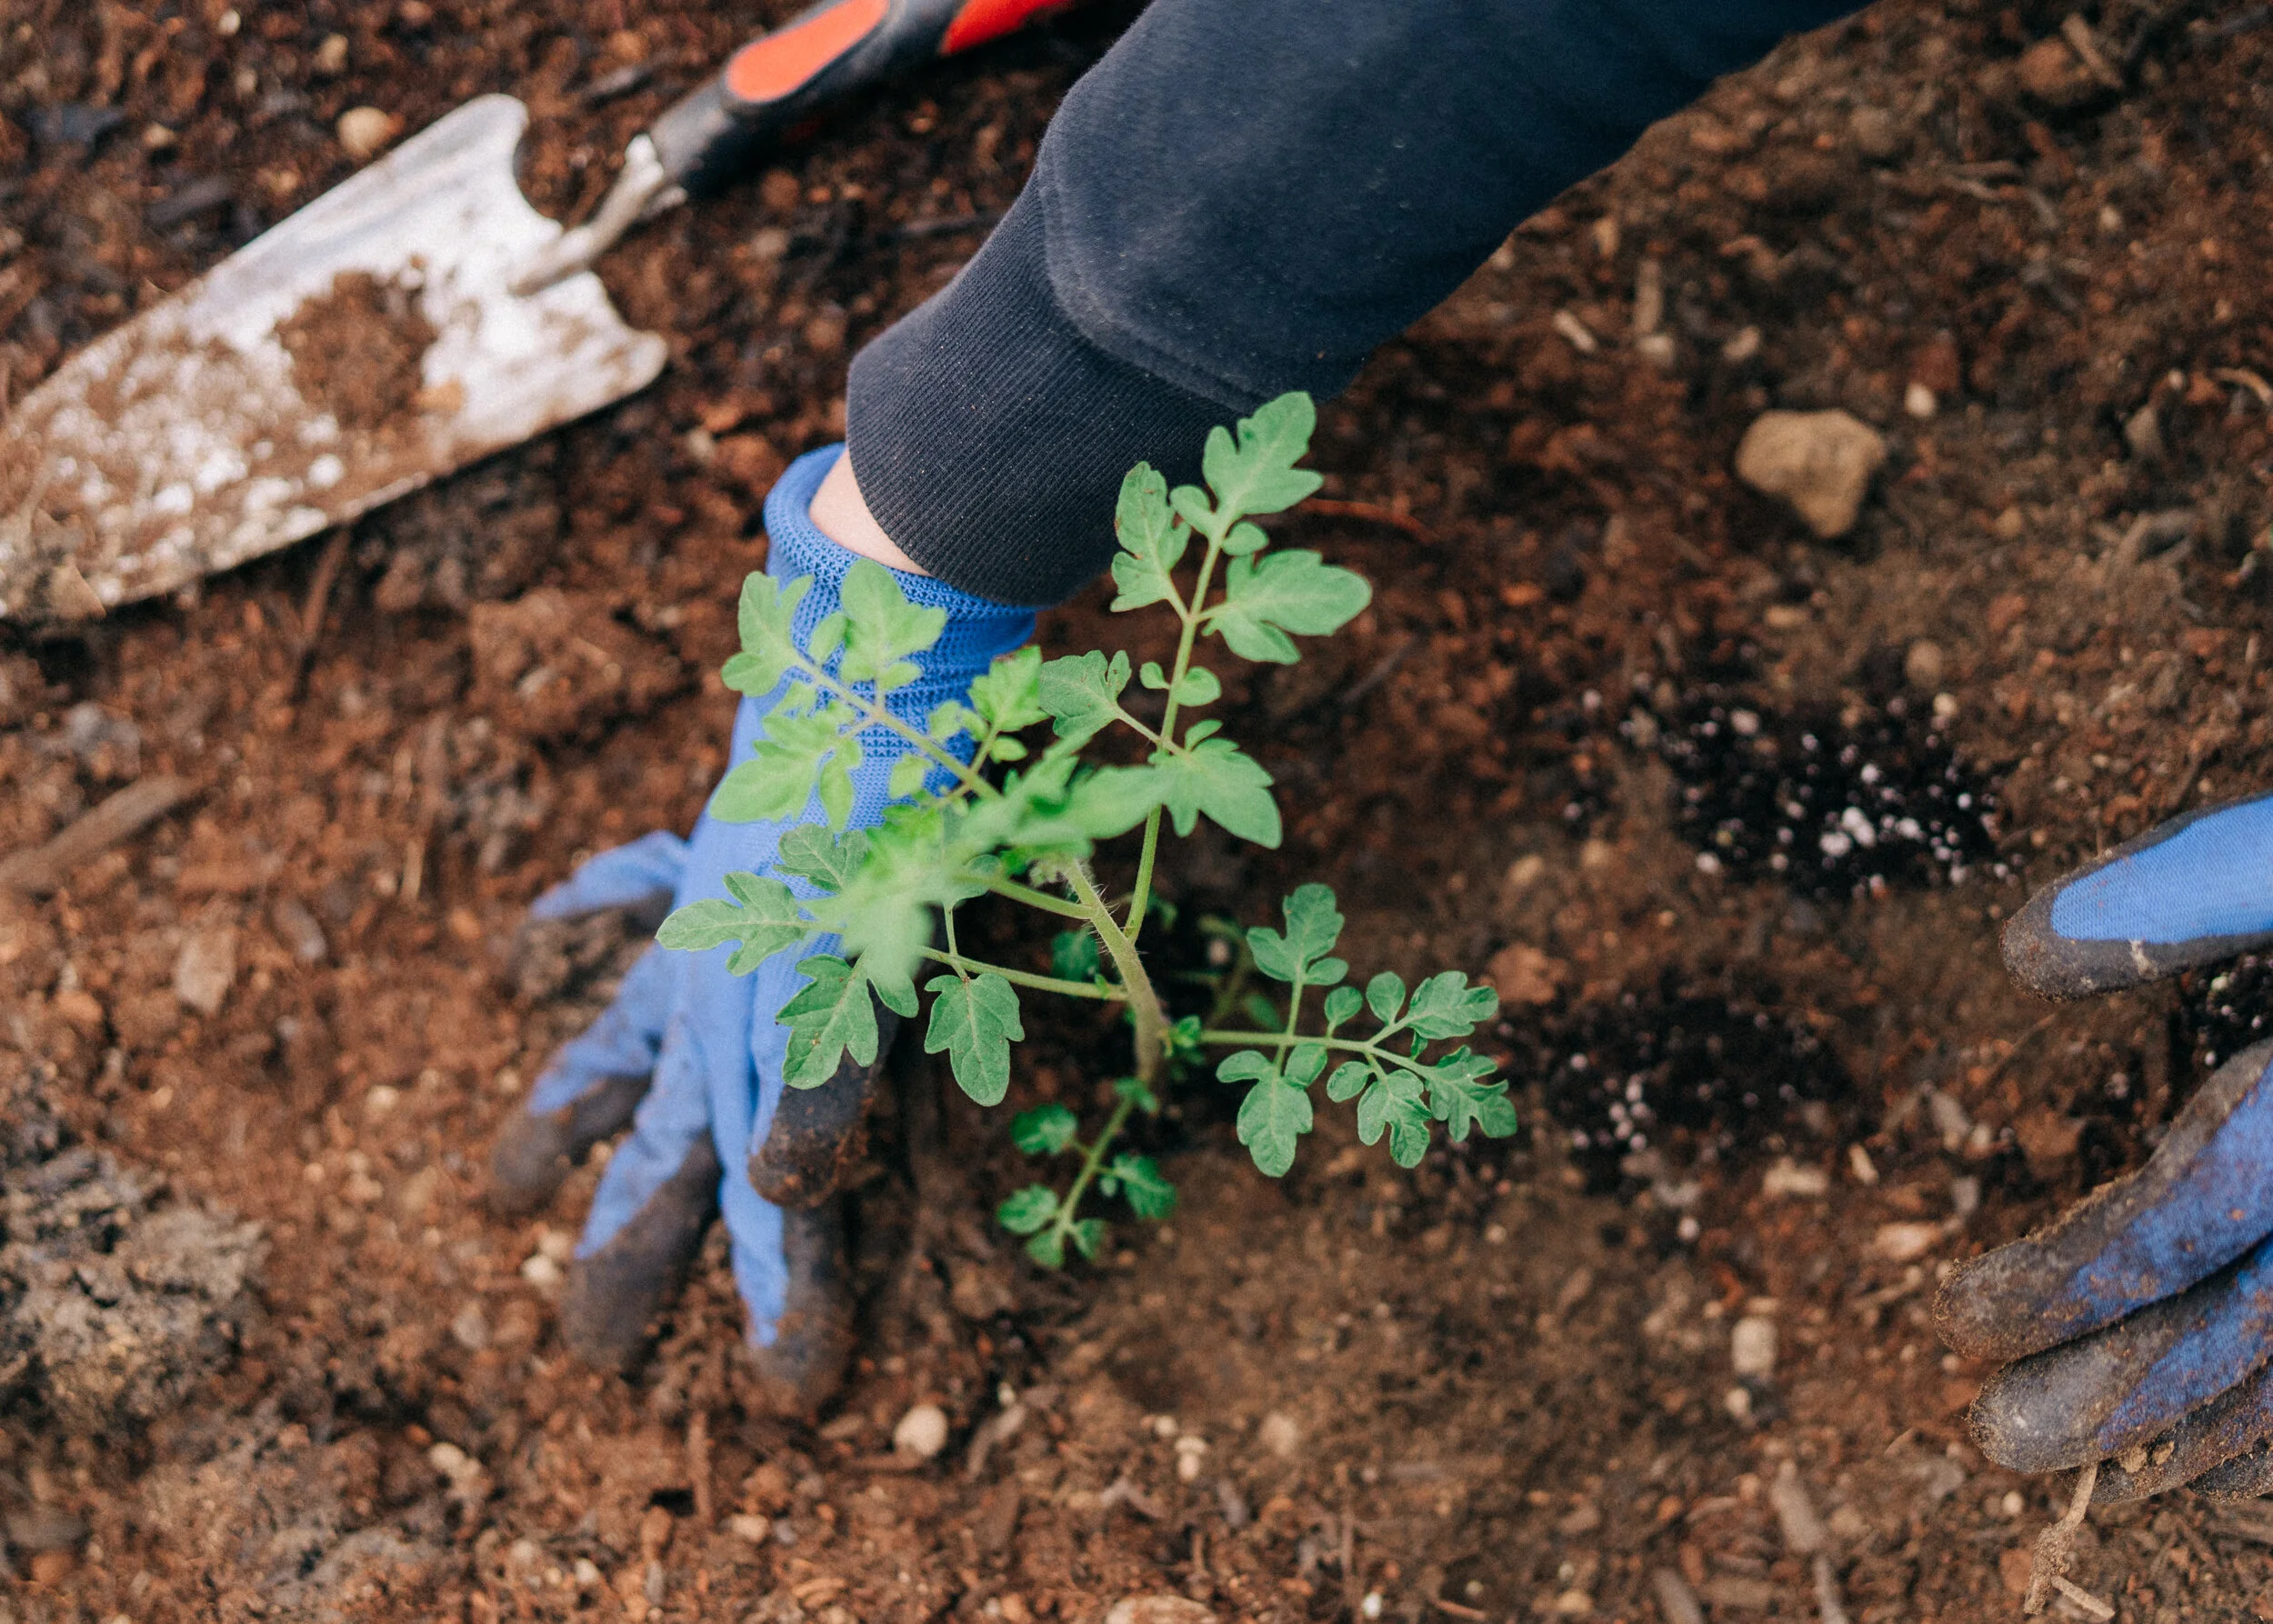
The Most important Part! The Plants!
I am a relatively impatient person, so I do not start everything from seeds, though dad and I will be trying a couple seed starts this month. I end up buying the starter plants from the nursery or hardware store, which usually run 2-4 dollars a piece. The plant packaging tells you how much room the plant needs between plants (I am greedy, so I always plant them a little bit closer than it says, some people would probably disagree with me, but if you water and fertilize them enough I find that they still do pretty well.) Once you have everything planted, make sure you give the boxes a good watering session. Here is our list of produce that we are attempting:


Sweet Corn
Cherry Tomatoes
Hybrid Tomatoes
Beefsteak Tomatoes
Green/Red/Yellow Bell Peppers
Broccoli
Cauliflower
Kale
Romaine Lettuce
Bibb Lettuce
Cabbage
Jalapenos
Serrano Peppers
Eggplant
Yellow Onions
Overall this project took Dad, Matt, Annika, and I about a week (honestly we were lazy and it rained a lot, you could easily do it in a weekend if your committed and plan out your trips to the store well). We plan to update this weekly, so we can all learn from the “Dos and Don’ts” of the Urban Garden. I hope you all get creative and inspired to grow something of your own! I end this post with a key picture of my Bean Boots, by far the best muddy gardening shoes! Didn’t Annika take some amazing photos?!!!!!