
Homemade Fettuccine Alfredo
09 April, 2020
My favorite food to make is Italian. Am I Italian? Nope! I am mostly Irish (my moms side of the family) and Danish and English (That’s were Annika and I come in). About 7 years ago I got ambitious, and decided I wanted to make my own pasta. I researched recipes and took classes, and it took a combination of all of the above to figure it out. I of course went from zero to 100, and started making pasta for large Sunday night dinner groups, rather than starting out with a small group of 4 to 6. I used to love hanging in my Kitchen on Sunday afternoons and spend 4 hours making 6 pounds of pasta while I watched my favorite “chick flick” on the kitchen TV. Though I do love making fresh pasta, I needed a backup plan for the more complicated shaped Pastas. There are some great pasta machines out there, that require limited effort (I now use the Phillips self weigh pasta machine, you can get it at either Williams Sonoma or Amazon. Make sure you order the self weighing model.). I use my pasta machine for spaghetti (thin and thick), lasagna noodles, and penne, but I still prefer to make my fettuccine completely from hand. Because I make things for large groups, my mind thinks in ingredient proportions, so I like to teach that in my recipes. Here is what you need for the best homemade pasta and Alfredo sauces! I also combined this recipe with a virtual cooking class during this social distancing time with a fellow coworker and his family.
INGREDIENTS
Pasta
2 cups of all purpose flour
2 eggs
1 teaspoon of salt
One Tablespoon of Olive oil
1/3 cup of water room temperature
Alfredo Sauce
1 stick of unsalted butter
1 cup of heavy cream
3 cups of Parmesan cheese
1/2 TSP of cayenne pepper
Chopped Parsley for garnish
The relaxing, but Messy, process of making Pasta Dough
Here is my recipe mindset for pasta. I approximate in my mind that one cup of flour represents one pound of pasta. Per every cup of flour, you need one egg and 1/2 teaspoon of salt. You can make this pasta on a large cutting board or butcher block, but beware it will make a big mess. This time, I used a large metal bowl.
Put the flour and salt in the bowl and mix together. Create a crater in the middle of the flour. Crack the eggs into the crater and add the olive oil to the eggs. Whisk the eggs gently with a fork, trying to keep the flour crater in tact. Once the eggs and oil are mixed, start folding the flour into the egg/oil mixture.


Mix everything together until the mixture becomes crumbly and you don’t think there is any more moisture to get out of the egg and oil. Slowly add the water 1 TBSP at a time (You may not need the entire 1/2 cup of water, if you put to much in, the dough will be to sticky.). Make sure you incorporate as much flour as possible with each tablespoon of water. As the dough starts to form into a ball, stop adding water. Continue kneading the dough for about 5 minutes to incorporate all of the flour. Now its time to test the consistency of the dough. pick the ball of dough up with one hand and squeeze it like you would a strength ball. If the dough sticks to your hand when you release it, you need to add more flour (Add it a tablespoon or two at a time). Once the dough is to that consistency you want, cover the dough ball with saran wrap for at least 30 minutes. This give the dough time to settle.


Rolling the Pasta
There are multiple routes your can go to roll pasta dough. You can get a hand cranks system (I prefer the Atlas system, which you can get at most kitchen stores or on Amazon), or if you can get attachments for your kitchen aid electric stand-up mixer (It usually comes in a set of three, the roller plates, a fettuccine cutter, and a linguine cutter). I used the kitchen aid setup, and my students on the other side of the computer screen used the hand crank Atlas system.
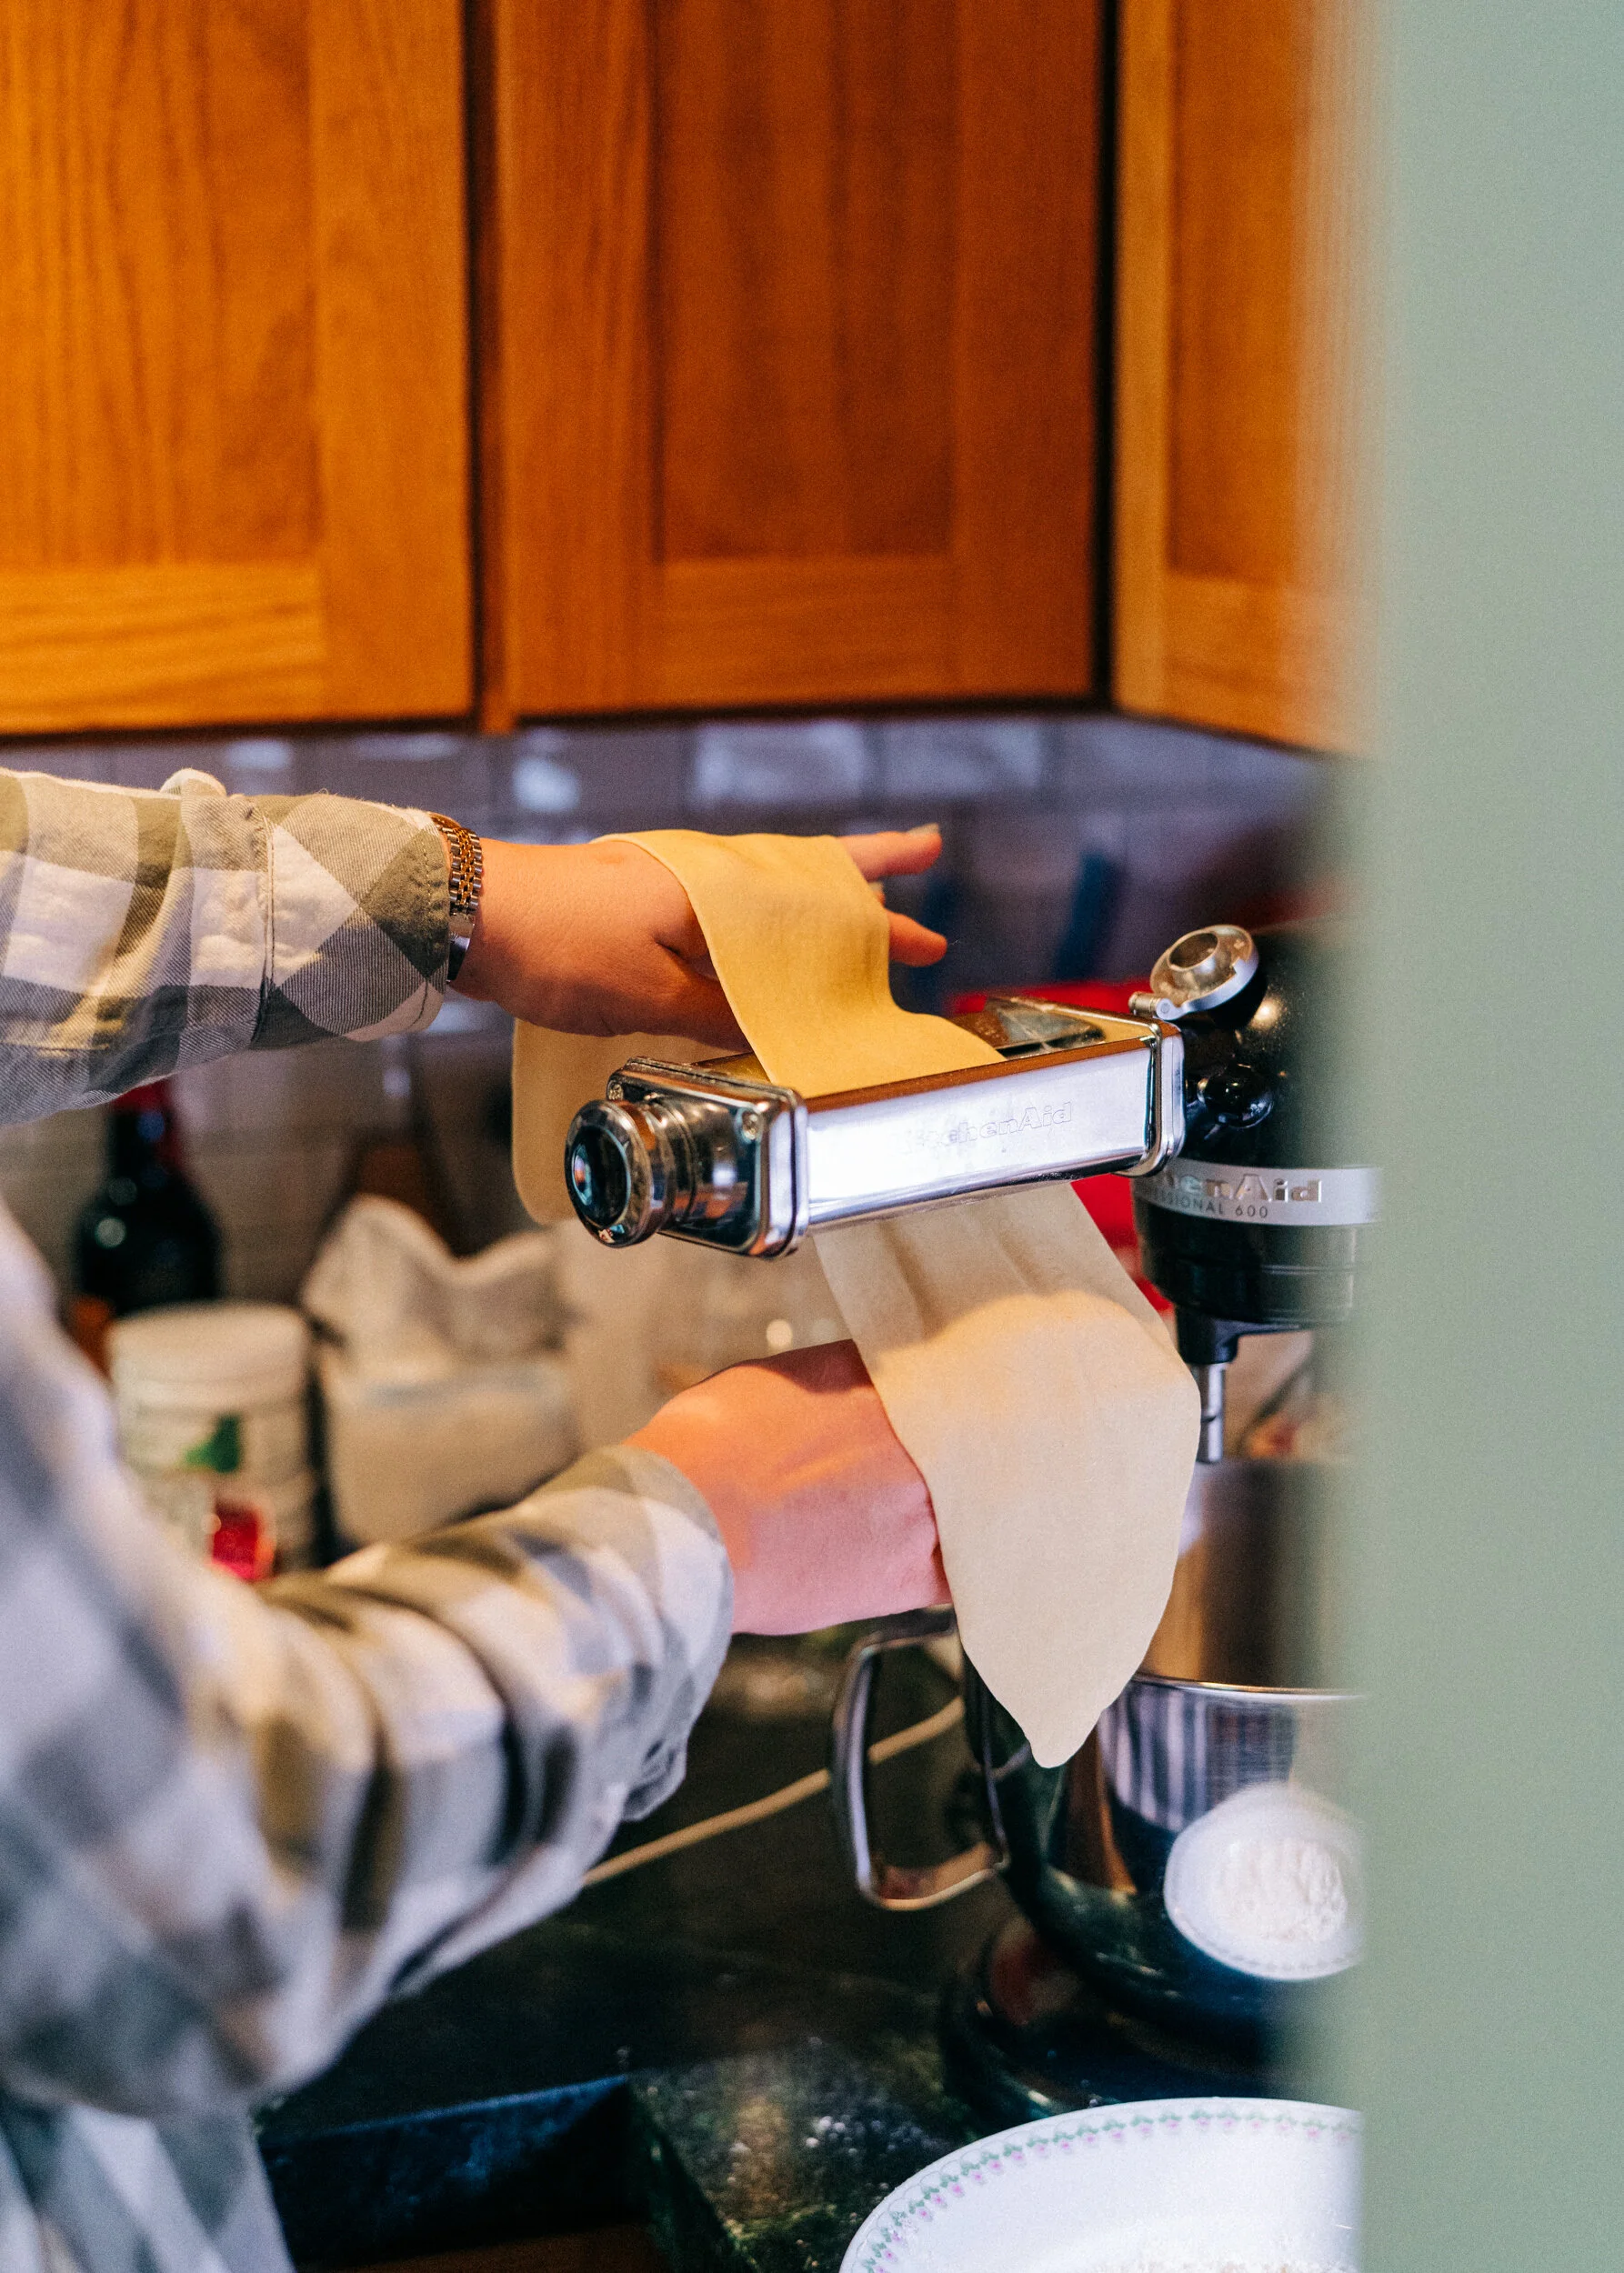

Once your dough ball has had time to rest, break off a chunk of the dough and create about a 3 inch diameter ball, and then press it between your palms to flatten it like a pancake. Most pasta rollers usually have settings from 1-7 or 0-7. The numbers represent thickness. The higher the number, the thinner the pasta. Always start rolling you pasta dough on the lowest setting. Take your pancake of dough and roll it through your machine. Don’t worry if it comes out a little rumply or even it has holes in it. This is where I initially got caught up when I first started making pasta, but you’ll put it through the lowest setting a couple times to work the dough. Once you roll the dough once, fold the dough into three folds as seen in the pictures, and run the dough through one the open ends of the folds. Continue this process until you start to get a smooth consistent dough. If the dough seems to sticky, you can dust some flower onto the dough during each roll. Once you have a smooth dough, increase the number setting on the machine one number at a time. You no longer need to fold the dough once you are done with the lowest setting.

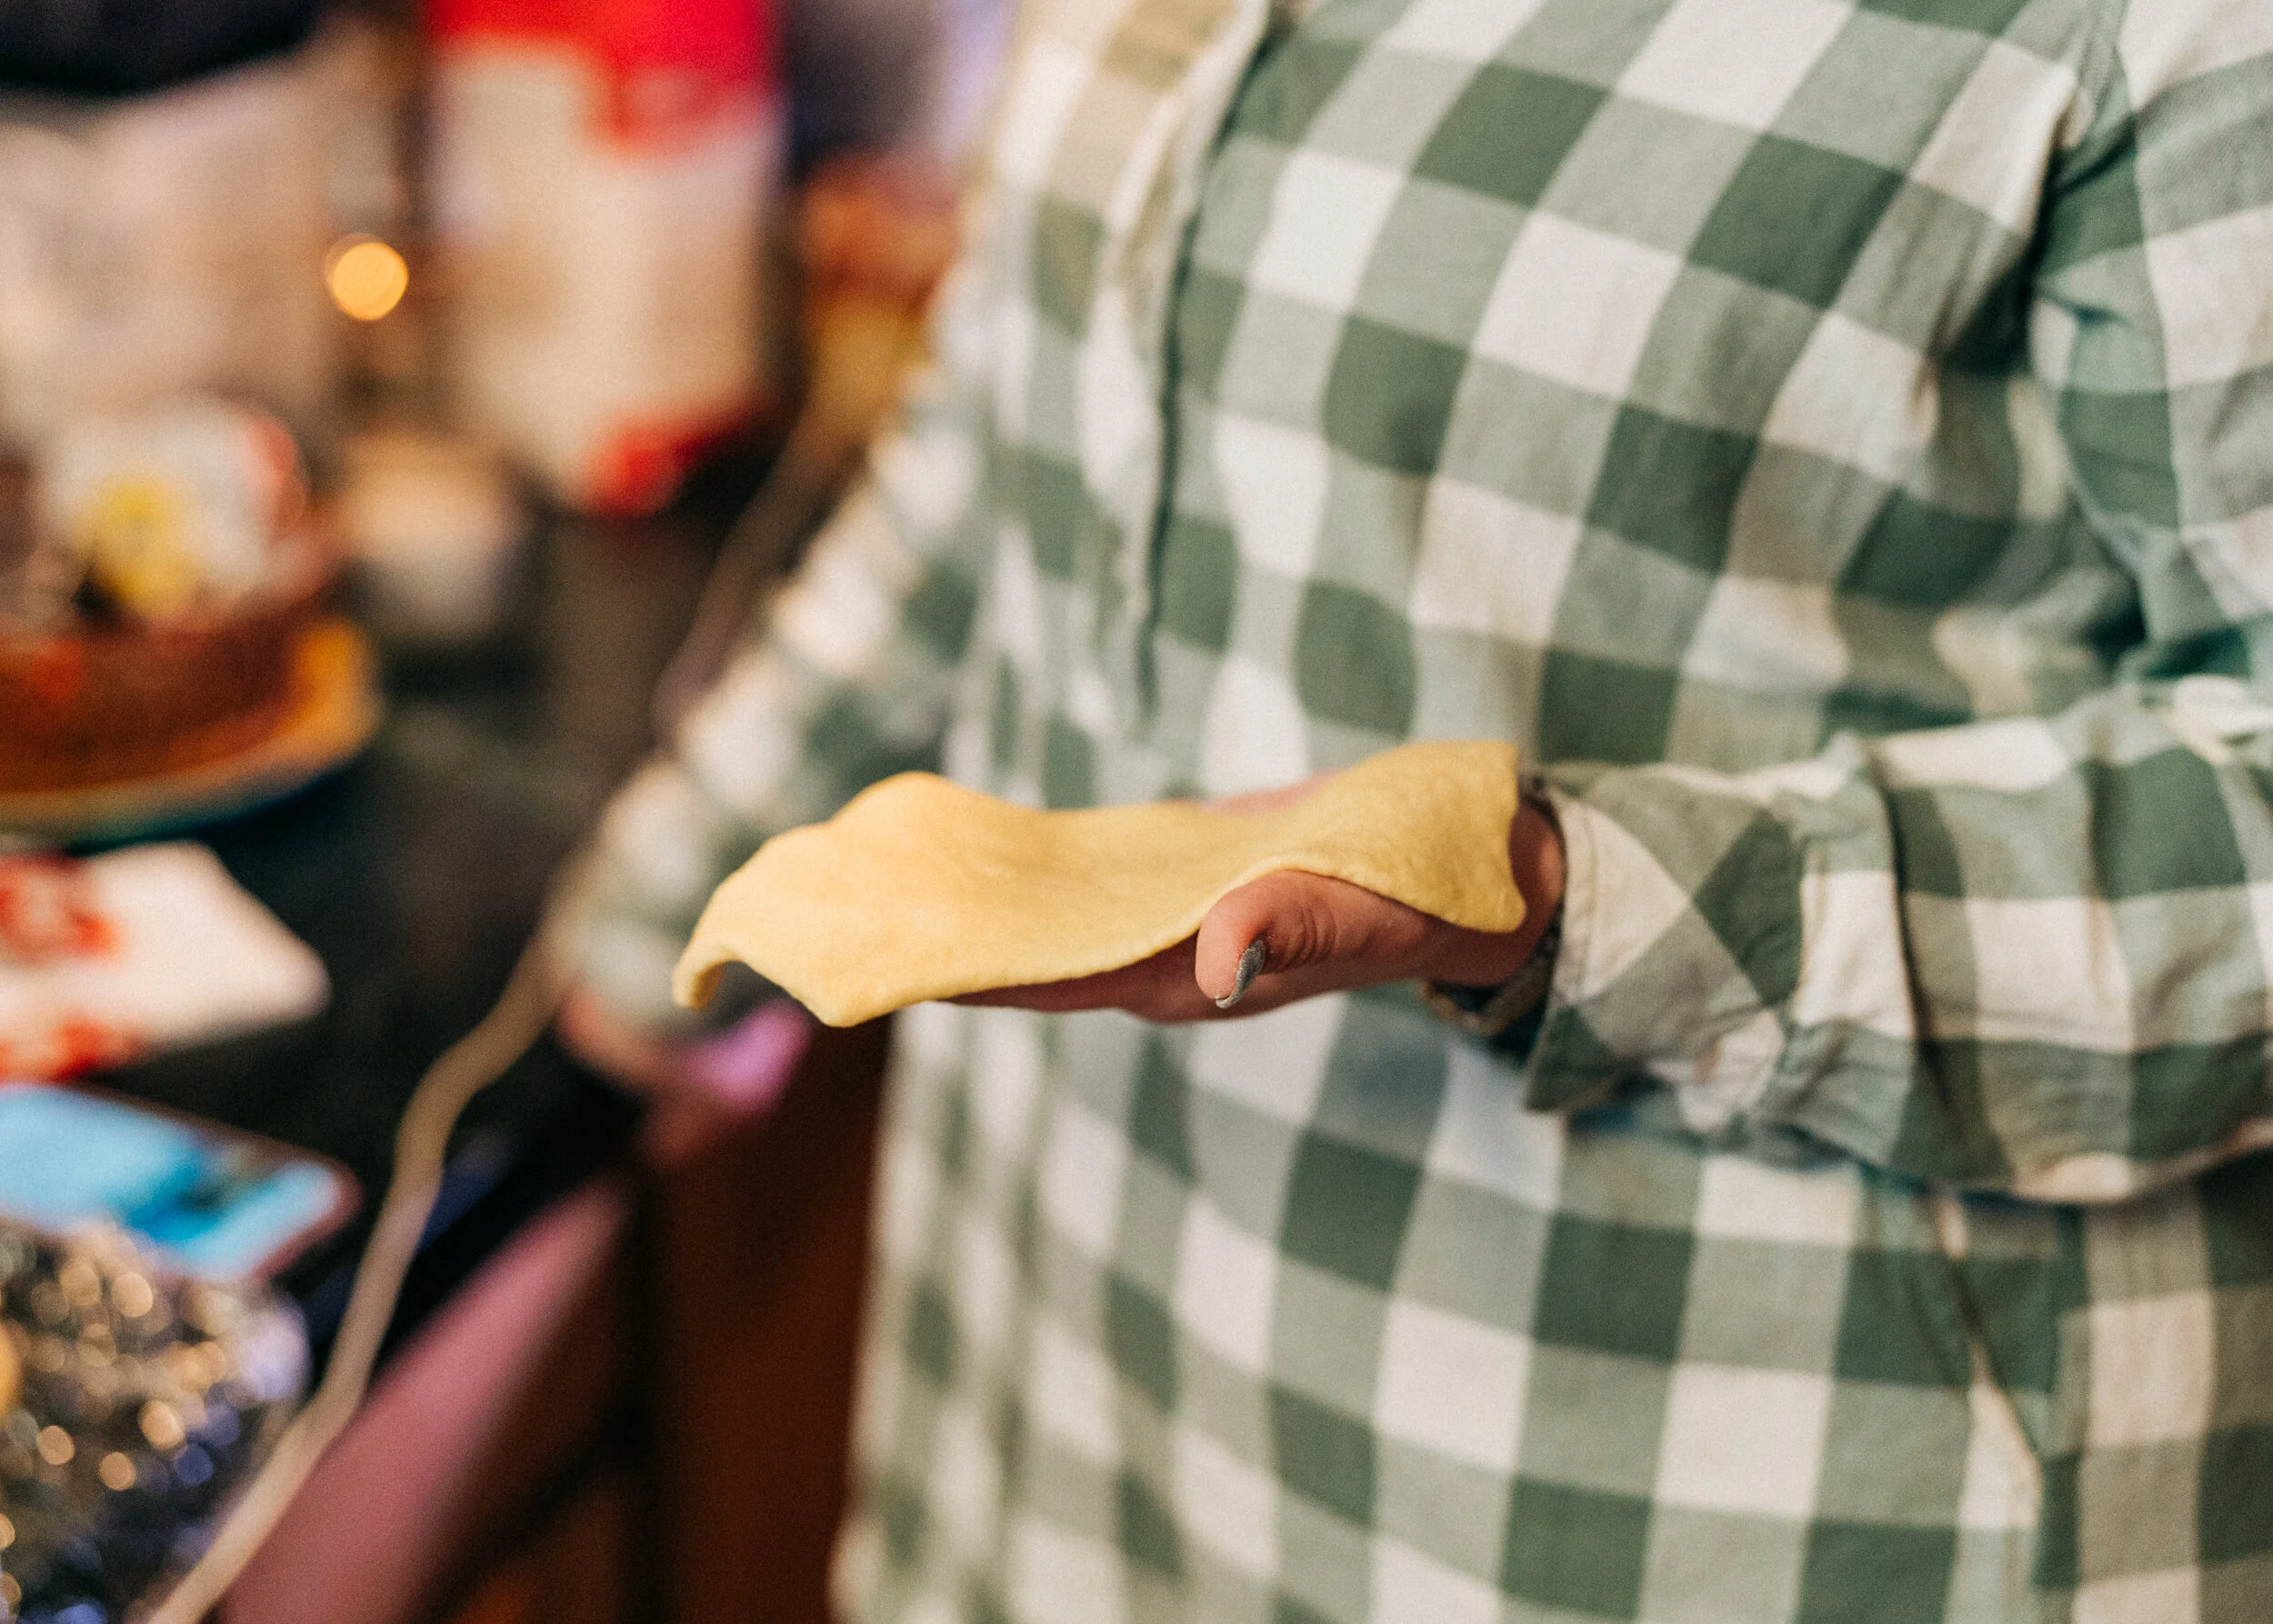

Once you have a smooth dough, increase the number setting on the machine one number at a time. You no longer need to fold the dough once you are done with the lowest setting. I went up to setting 5 for my fettuccine this time on the kitchen aid, but a good rule of thumb is roll it to a thickness where you can see your fingers through the dough. Place the dough on a floured surface until you are ready to cut it. Once all your dough is rolled out, switch to the fettuccine cutter on your Kitchen aid or move the hand crank to the cutting side of the machine. Cut each sheet of pasta, and break apart each individual noodle before making a cluster with each sheet of pasta on your floured surface. If you are not going to cook the pasta right away, you can freeze it in the clusters, or dry the pasta on a pasta rack before freezing. My preference is always just cooking the pasta when I make it, but its good to freeze some if you think you have to much.


Easy and perfect Alfredo Sauce
Alfredo sauce is actually pretty simple, but a few tips will keep you on the right track for this perfect Alfredo sauce. My rule is for every stick of butter, you need one cup of cream and one and a half cups of grated Parmesan cheese. With this ratio combo you can make sauce for 2 or 20 people. 2 Sicks and 2 cups was perfect for 4 people, with one portion leftover for lunch the next day.
Before you start the sauce, turn the heat up on a pot of water, so when your sauce is ready, you can throw your pasta in the water for 1-3 minutes, and then directly transfer it into your sauce pan. Add a couple of tablespoons of salt to the water to add some seasoning and prevent the pasta from sticking together in the water.
I like serving Alfredo with chicken, but pick your favorite protein of choice. For the chicken, we just marinated it in some olive oil and Italian spices, then pan fried it. Though we didn’t do it this time, I prefer thin sliced chicken for pasta. It makes the best bite combination, so that you can have enough chicken to have a piece with every bite of pasta.
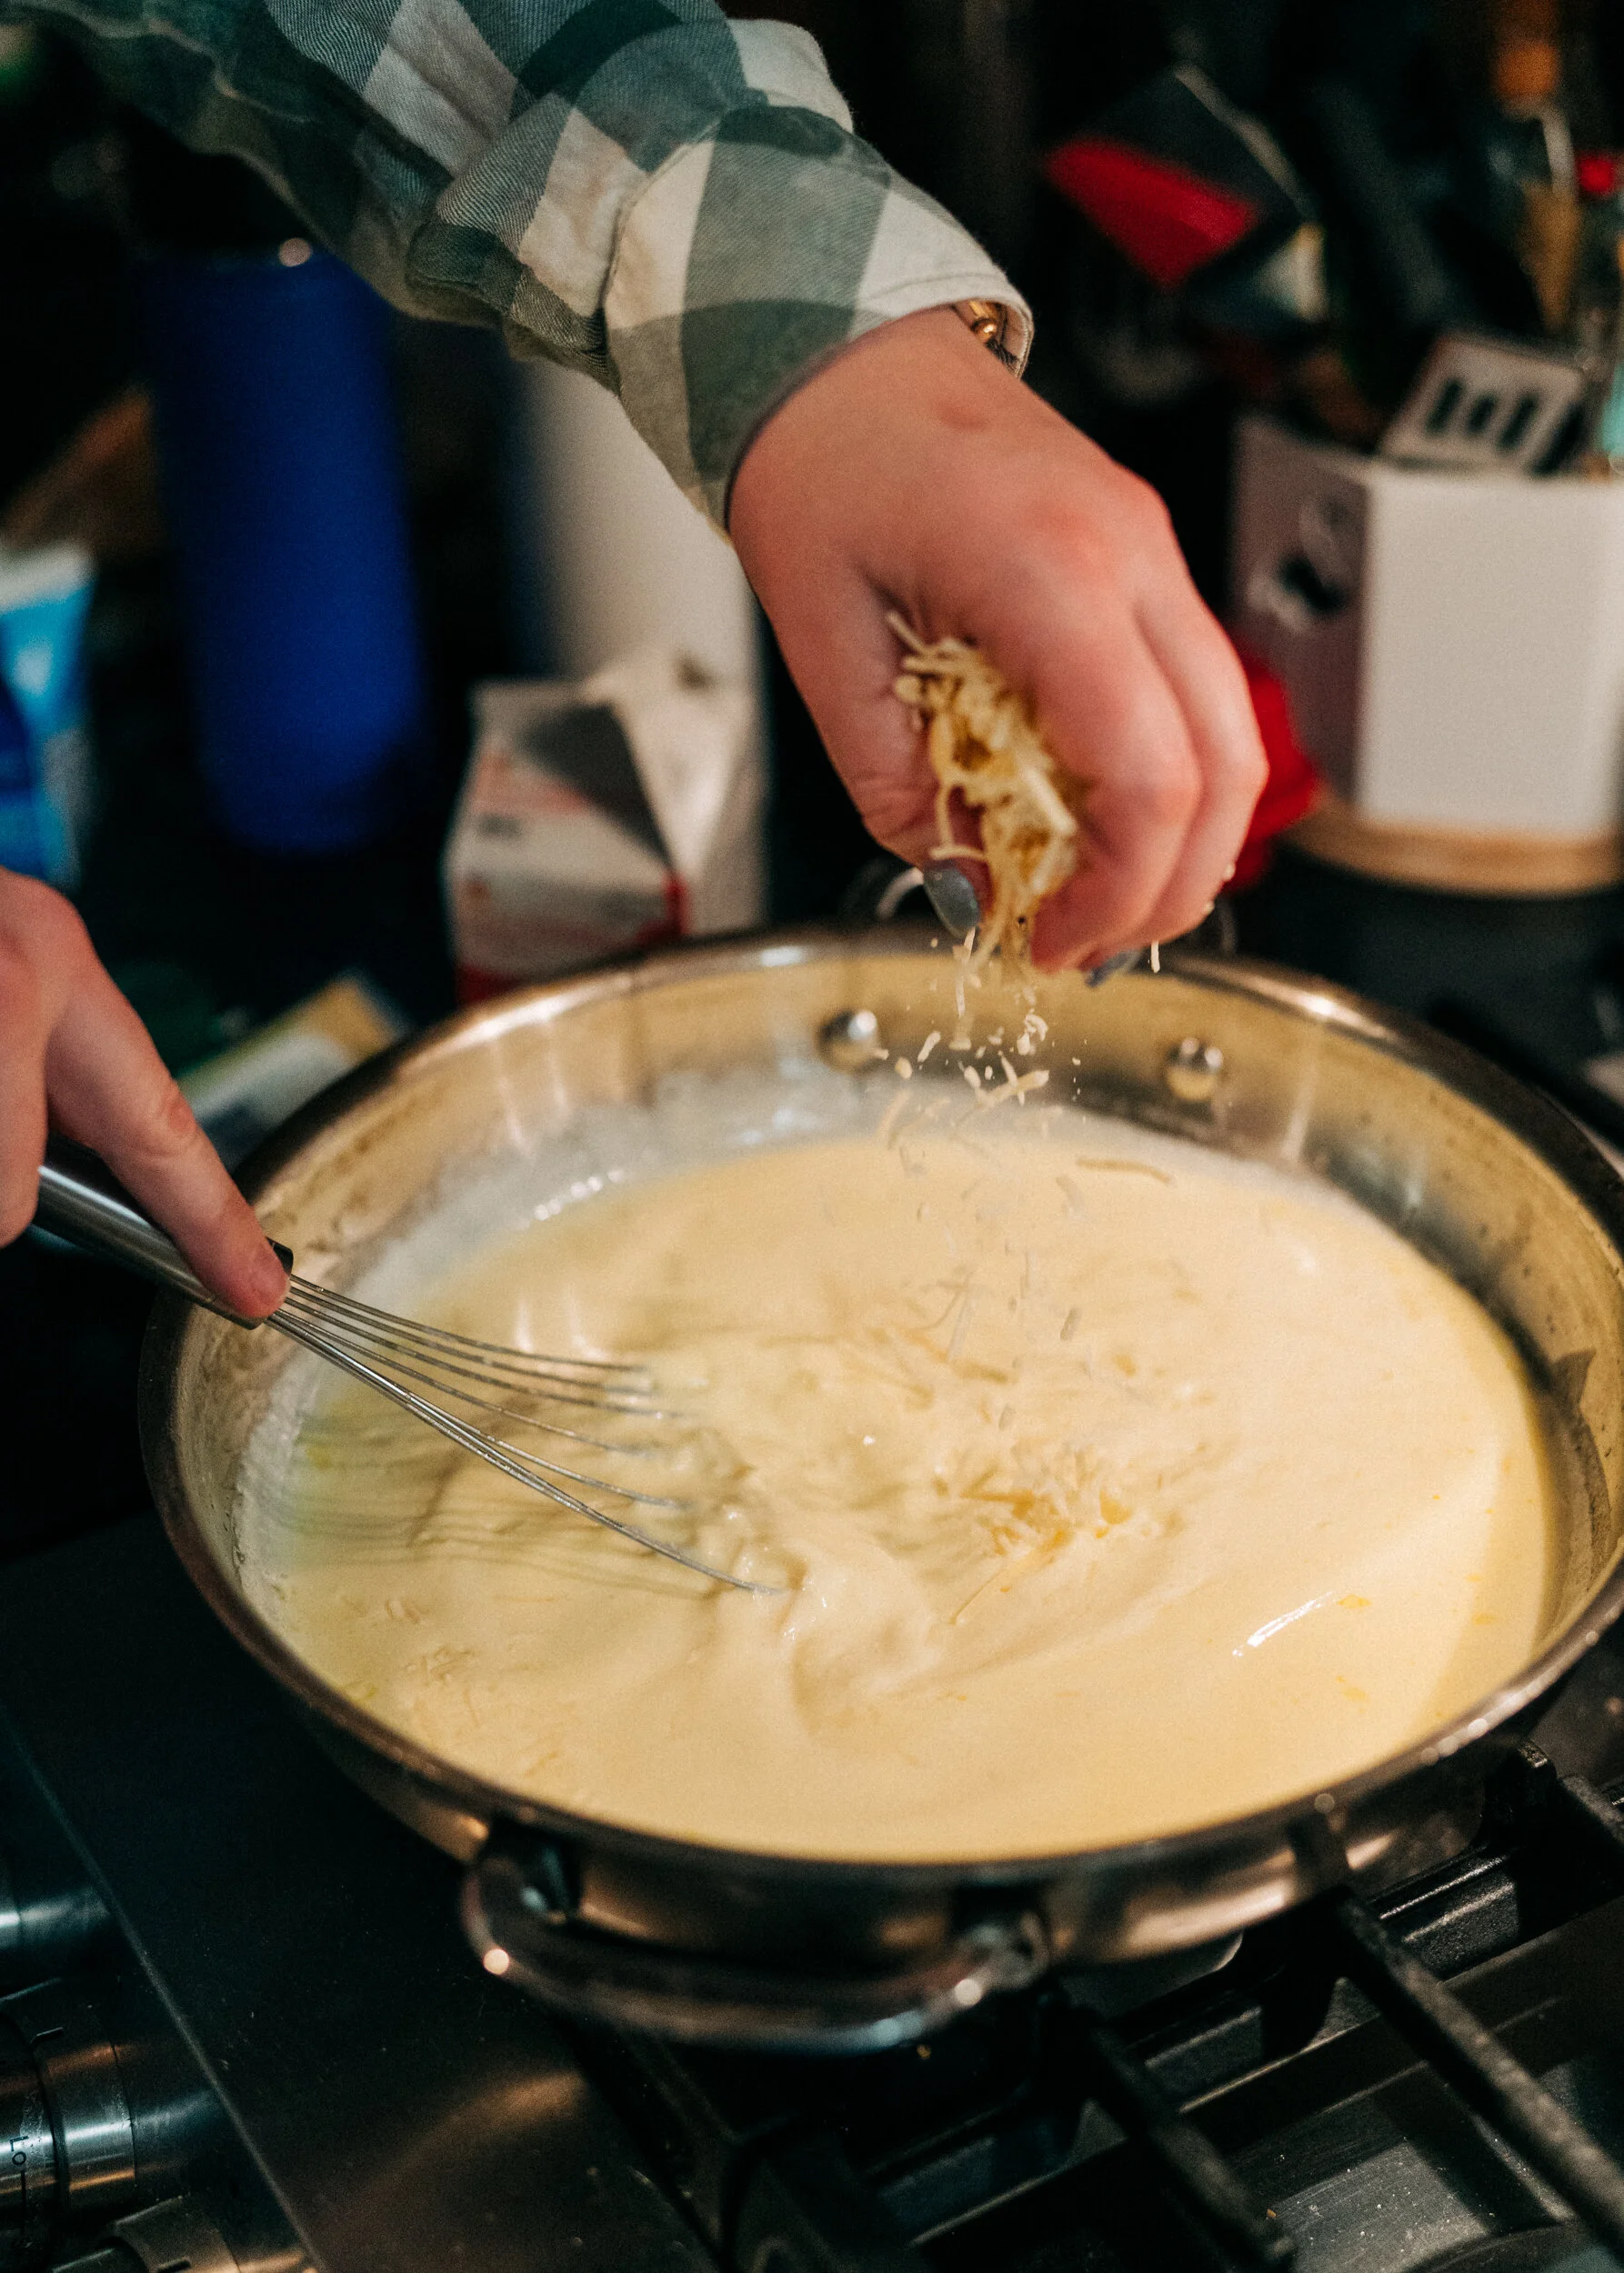
Make sure you have all the sauce ingredients next to the stove or within one hand reaching distance of your position at the stove (If you don’t have a sous chef like Annika, which is funny watching her stir and take pictures, but she’s got skills!). To start the sauce, melt your butter on medium/low heat in a 10-12 inch sauce pan. Once the the butter is fully meted, have a whisk in hand, and slowly pour in the cream while constantly whisking. The goal is to incorporate the butter and cream together. If you stop whisking, the ingredients will remain separated. Cook the sauce on medium heat, while whisking, for about 5 minutes, until the cream and butter look like they are incorporated. Once you reach this point, slowly add in the grated Parmesan cheese, and continue to stir with the whisk until the cheese starts melting and incorporating into the sauce. The cheese will continue to bind the butter and cream together, and as it incorporates, you will find less whisking is required. You can tell the cheese has completely incorporated when it isn’t stringy when you pull the whisk out of the sauce. If you decide the sauce isn’t thick enough for your liking, you can always add some extra cheese. Add the cayenne pepper at the very end.


Once your sauce is ready, turn the heat down to low, and start cooking the pasta 3-4 bunches at a time. It only takes about 1-2 minutes for this pasta to cook. Once the first couple strings start floating in the water, transfer the pasta to the sauce (It will finish cooking in the sauce). Continue this processes until you have all of the pasta cooked.


Mix the pasta and sauce together in the pan with a pasta spoon or tongs (my favorite tongs are the pasta tongs that Williams Sonoma sells, its a great multi-use tool!). Now it’s time to serve it up, and garnish it with some chopped parsley. Enjoy this yummy goodness, and I must say Nikki did an amazing job keeping three kids on task for this virtual pasta lesson!